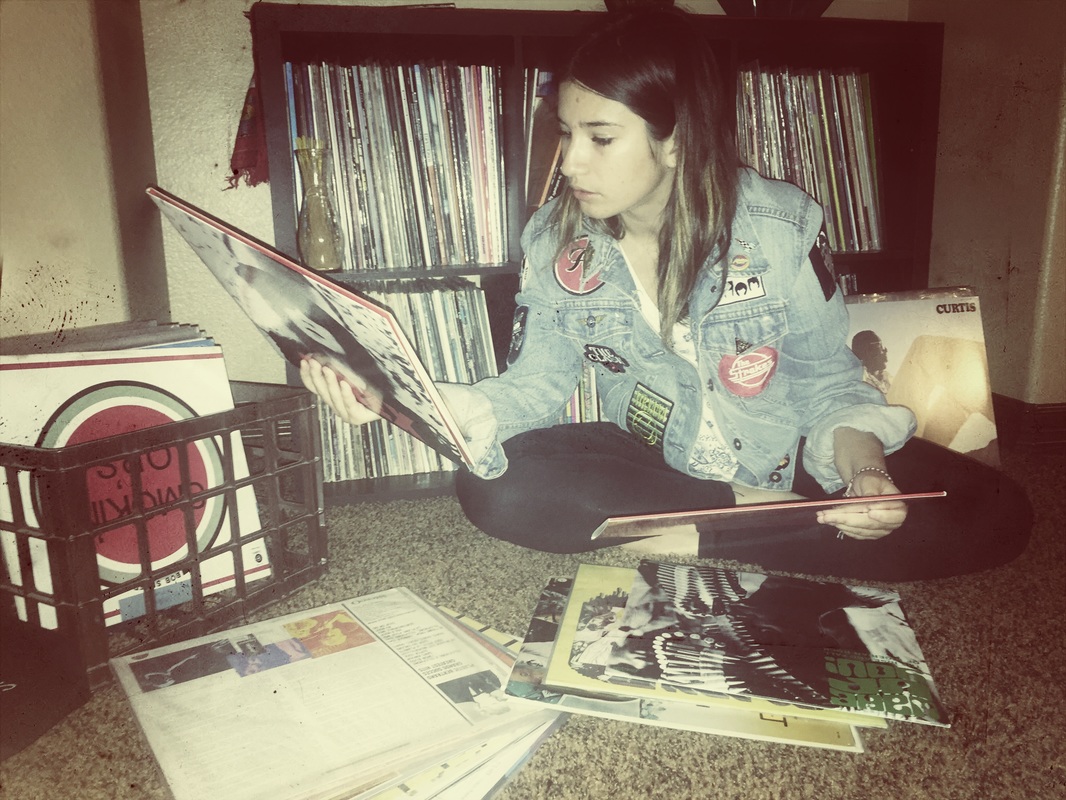
|
1. Tessellation in my own words is a collage of the same picture mirroring in a pattern that makes a funky shape that reoccurs.
2. To make the tessellations I went into photoshop, cropped the image to the side that fit in the guides (i.e.. 1, 4, 2 in.), moved them into the guides and made it so every picture is a mirror image of the one next to it. I would move it vertical and horizontal until it matched perfectly. 3. What I liked about this is how an image that may not be "beautiful" before, tuns into something very beautiful and creative. My favorite image is the one of the purple flowers. 4. I struggled with keeping a pattern together. Sometimes I would move it vertical when really it had to be horizontal, and vise versa. 5. If I did it again, I would use a system and memorize what goes where so that it would be a faster process.
0 Comments
Touched Up Photographs  ISO 200, f/8, 1/250  ISO 200, f/8, 1/350  ISO 200, f/8, 1/250 Untouched Photographs  ISO 200, f/8, 1/350 ISO 200, f/8, 1/350 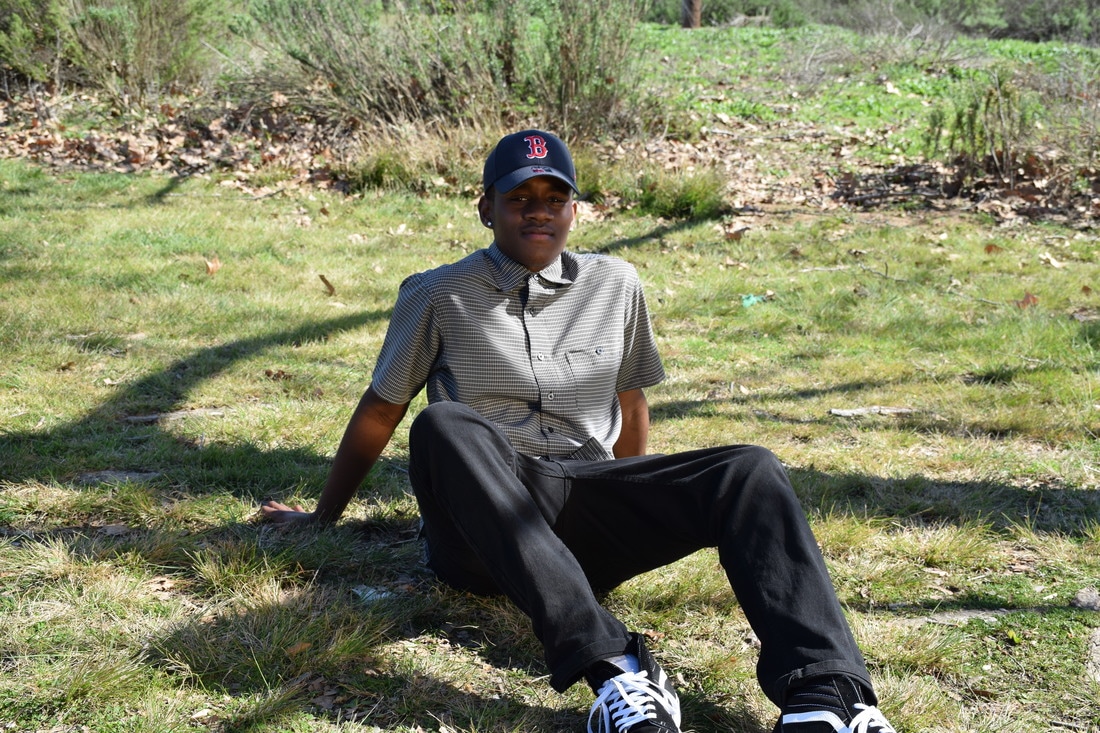 ISO 200, f/8, 1/350 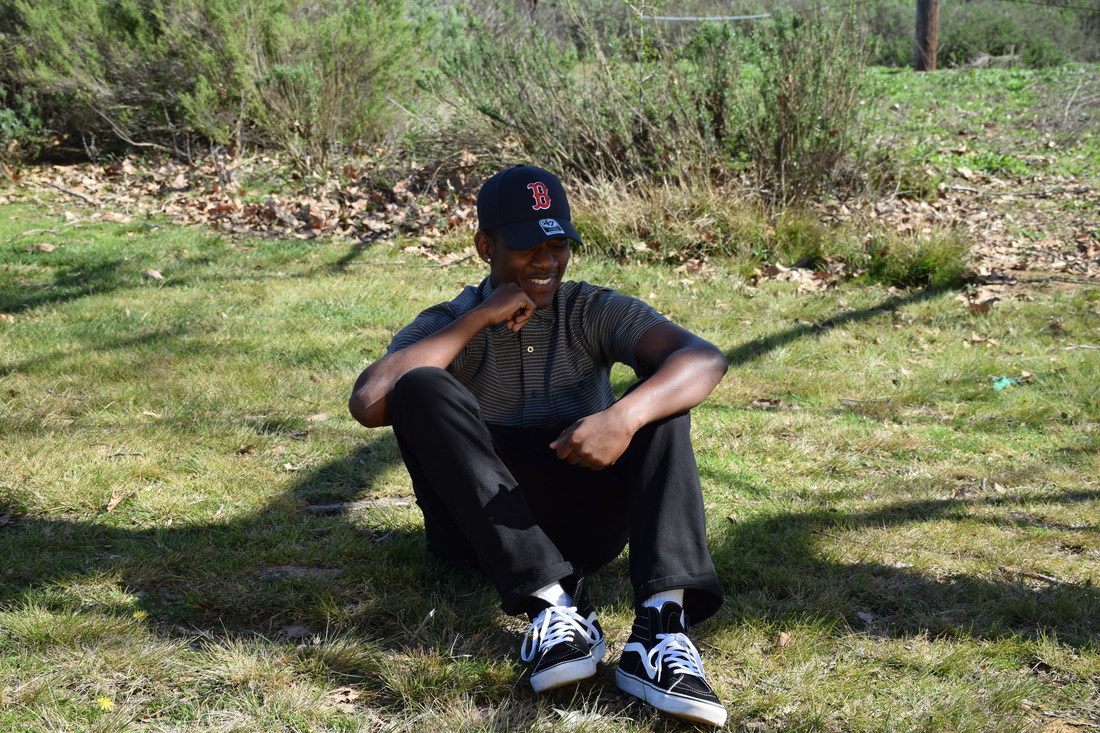 ISO 200, f/8, 1/450 From going to the duckpond to do the portraits, I learned how important a background and lighting is for a picture. To choose the poses I used the pose list you gave us and also recollected dome poses I used before in my model team. The reflector was the most helpful tool while taking these photographs. They allowed me to bring a warmer touch to the skin and also emphasized the details in his face. To retouch the first three photos, I used the brush and blur tool to flatten the blemishes on his face and smooth out his skin. He doesn't have many imperfections so it was really easy to do. Some positions that use portrait photography are wedding photographers, school picture photographers, and also from my personal experience a model team. An average charge for portrait photography would be from $200-$500. They usually get payed from around $10-$20 an hour and annually make around $30,000. The people who hire them are larger photography business and anyone in need of a clean and well put together portrait.
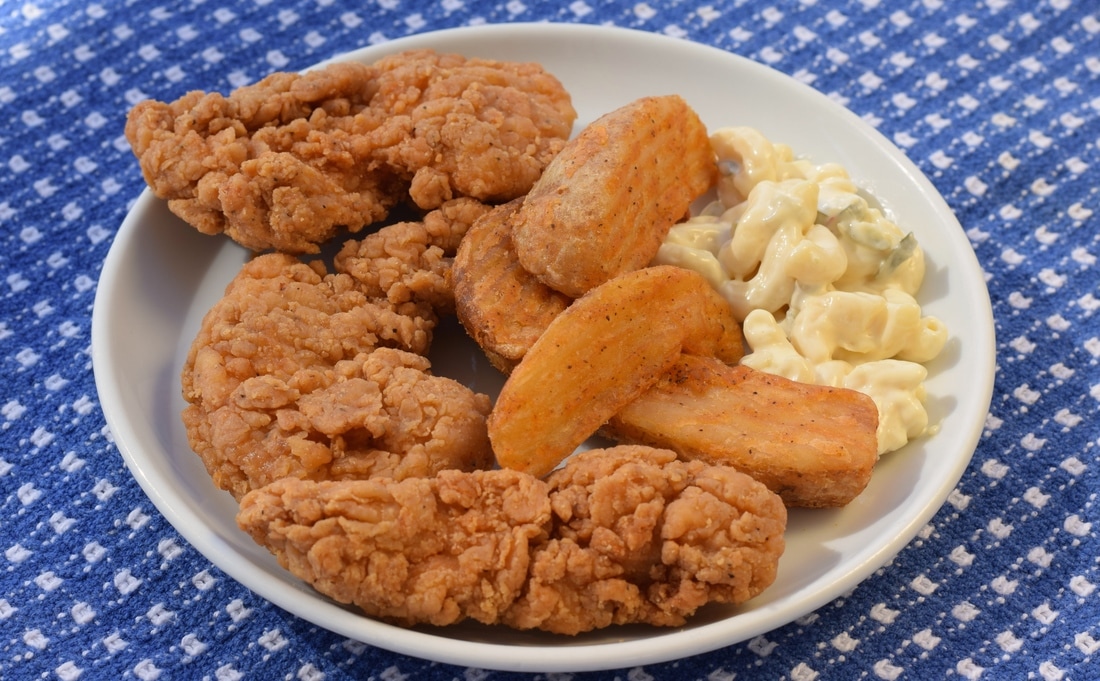 ISO 200, f/8, 1/180 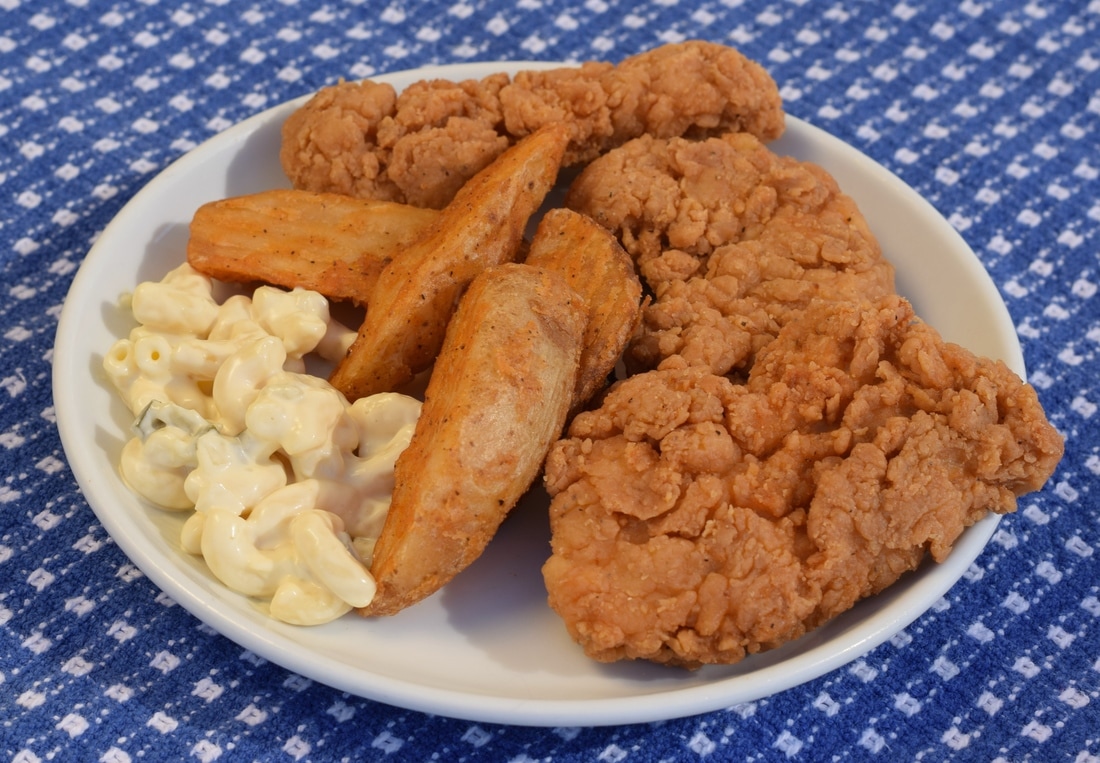 ISO 200, f/8, 1/180  ISO 200, f/1.8, 1/180 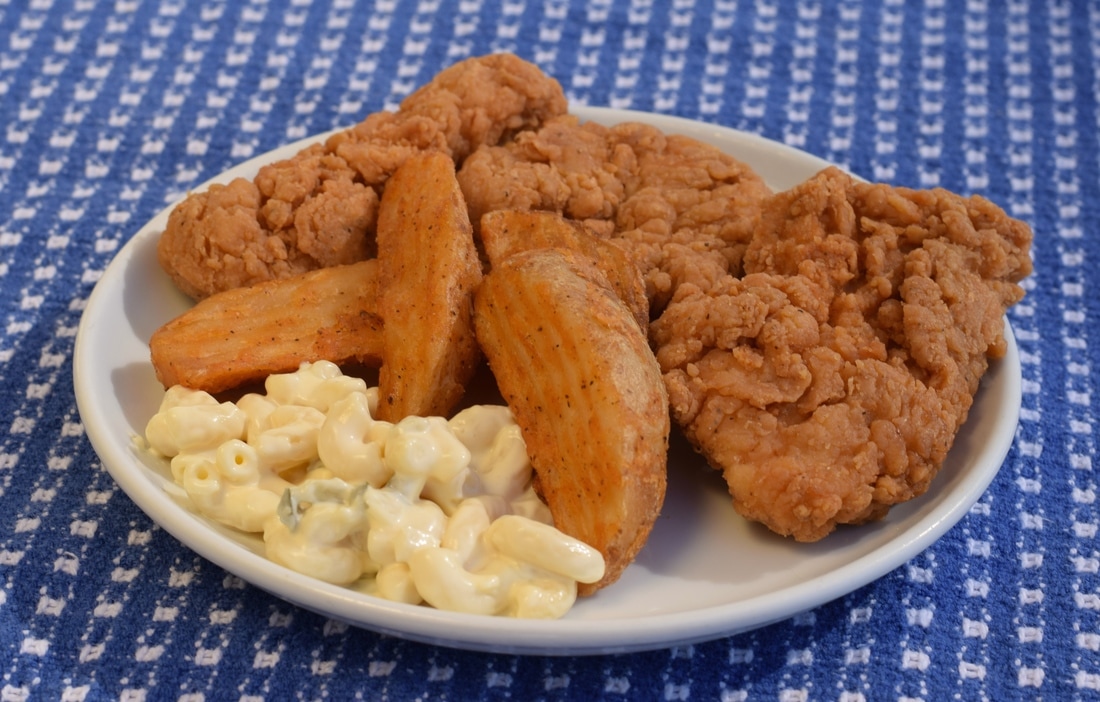 ISO 200, f/8, 1/180 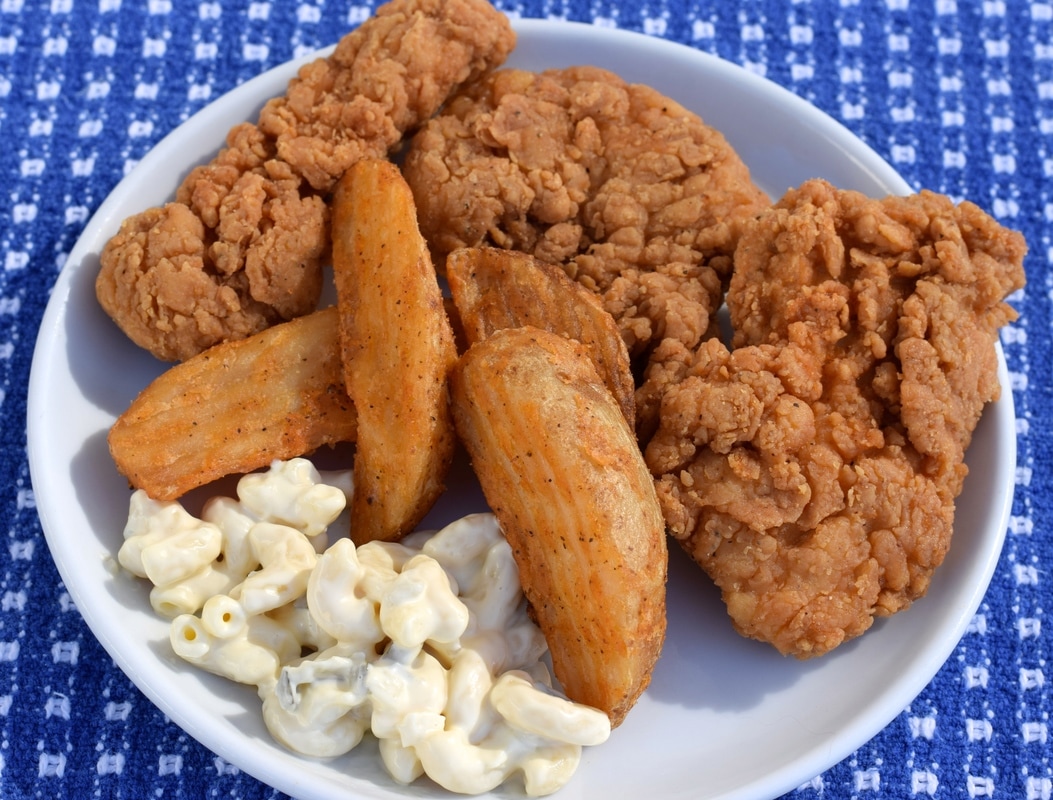 ISO 200, f/8, 1/250  ISO 200, f/1.8, 1/600 For this project I brought in a meal that consisted of chicken strips, potato wedges, and potato salad. When I see this meal I think of summer time because of the light and warm colors. To make the colors pop out ad emphasize the summer time vibe, I put a blue tablecloth under the meal. The blue and the orange of the chicken really went well together. In the video about food photography I learned that it isn't as easy as it looks. To get the details of the food and to make it look professional, there is a lot of work and time being out into it. To make my photographs look similar to a professional food photographer, I used the gold side of the reflector to reflect a warm light onto the food making it glow. Watching the video showed me that not only McDonalds,but every food business/restaurant uses special techniques to make the food look appetizing. By using the f/1.8, I got the details in the food making it look like a successful appetizing meal.
 ISO 720, f/4, 1/1000 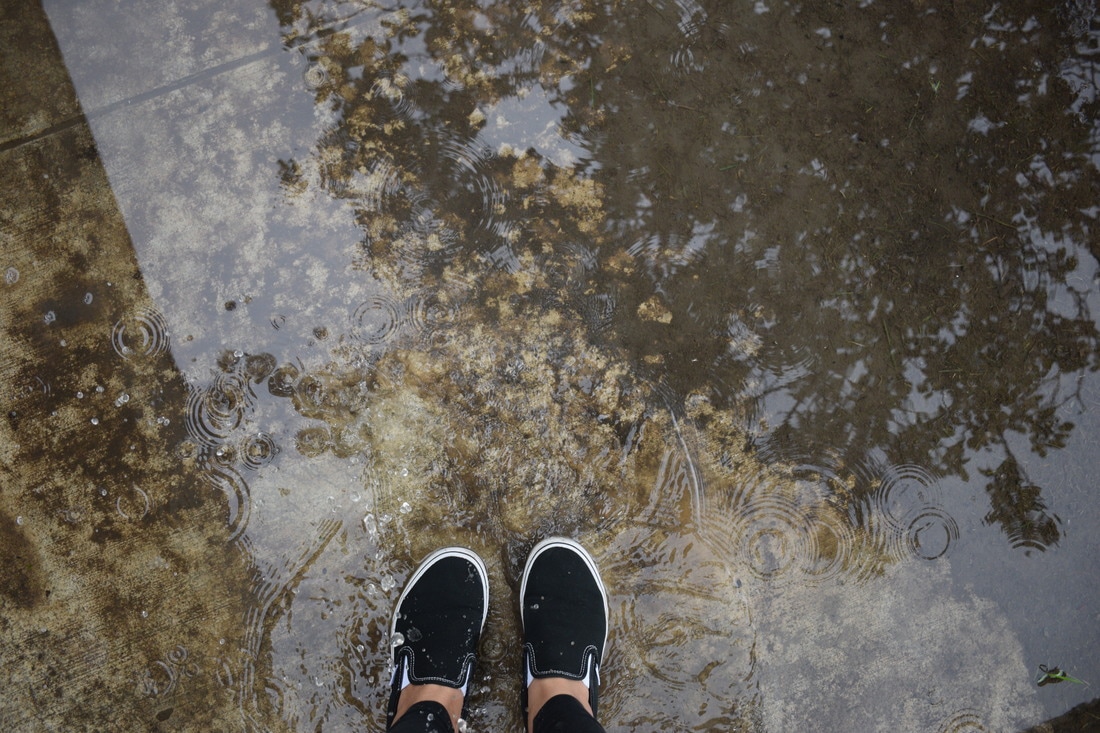 ISO 720, f/8, 1/1000 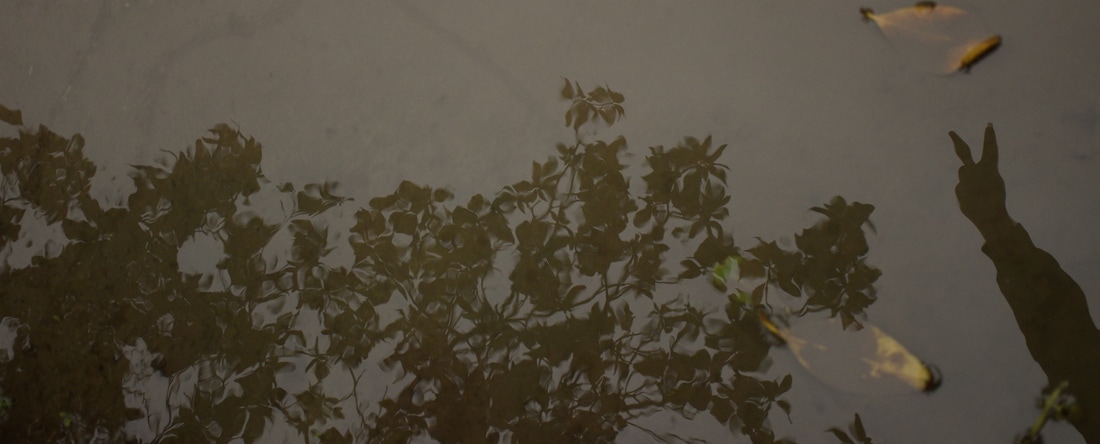 ISO 720, f/4, 1/1000 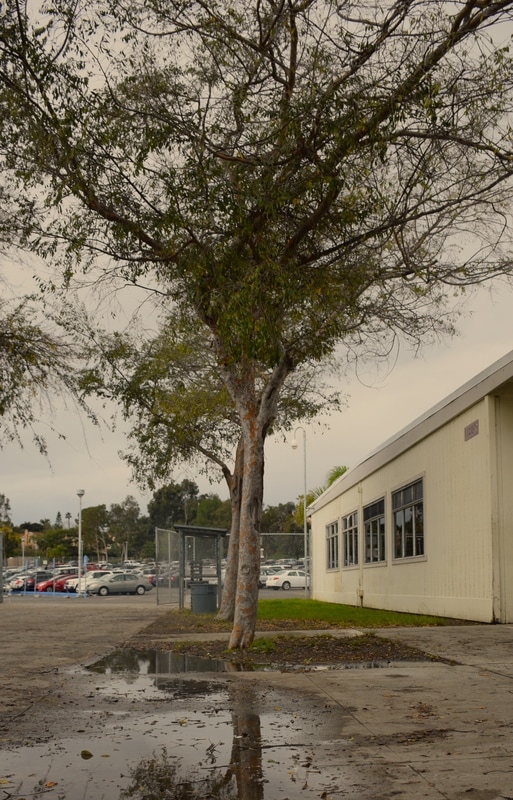 ISO 720, f/4, 1/1000  In 10 years I hope to either be a school counselor or a math teacher. I love bing around children and I also loving taking time out of my day to help someone. Math has always came really easily to me and I know how to break down problems to make children understand another way to do it. I don't like when people feel defeated by math or school in general. My goal would to make everyone graduate and get a good understanding of what math has to offer. An ideal day at work would be full of problem solving and helping children. 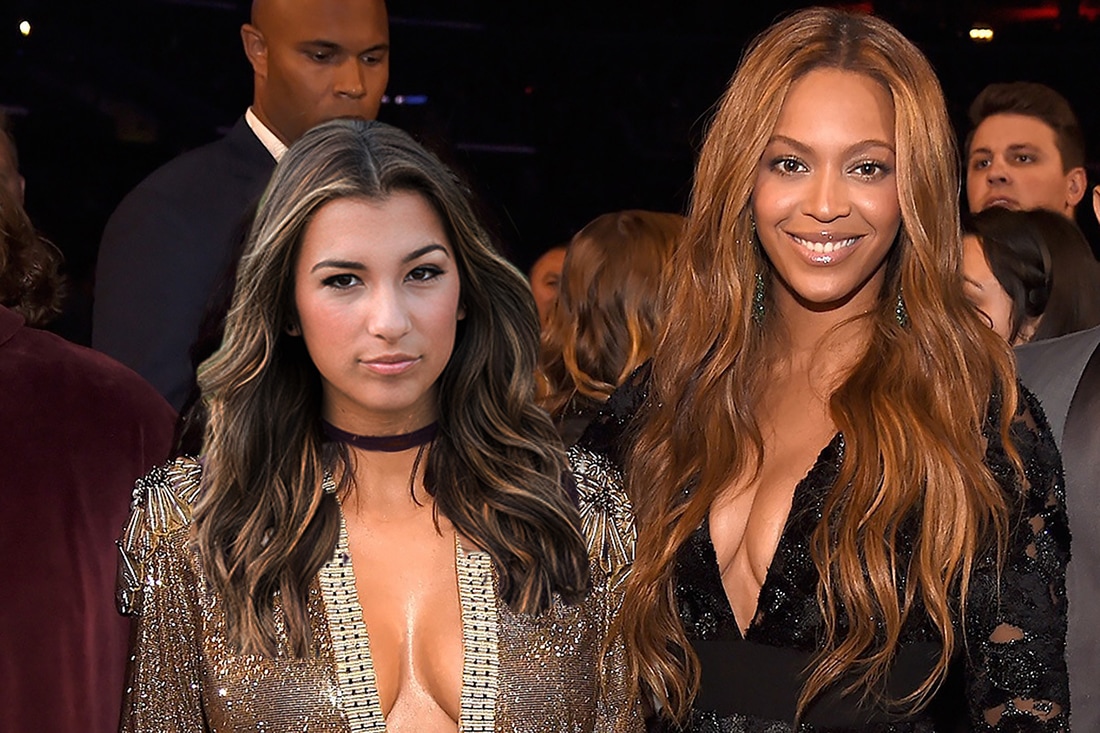 This is Beyoncé and I. I chose to use a picture with her because she is my favorite person ever. I love her music, her personality, and her gorgeous face. I have always wanted to be her best friend. To make this picture and the picture before I searched on google for a photograph to use and downloaded a picture I had on my website. vI used the lasso tool to put my face on top of theirs and used the photoshop layer mask tool to erase the other layer.
Leading LineBefore  ISO 200, f/16, 1/6 After  Framing Before  ISO 200, f/16, 1/20 After  Rule of ThirdsBefore  ISO 200, f/16, 1/125 After  Balance SymmetricalBefore  ISO 200, f/16, 1/125 After  CropBefore  ISO 200, f/9.5, 1/60 After  HDR stands for High Dynamic Range. It is very easy to make HDR's on Photoshop. To make these pictures I went to the duckpond and looked for relevant pictures I could take for the five compositions. I took five pictures for each individual picture. I took them in five different exposures. I took one in 1.0, 0.5, 0, -0.5, and -1.0. This is an essential to making HDR's. To make it on photosop, I downloaded all of the pictures and layed them on top of eachother. With the exposures coming together, it made it an HDR, but to make it more like Travis Burke's I made it more saturated. By making it more saturated it made ˆt look more science fiction and different.
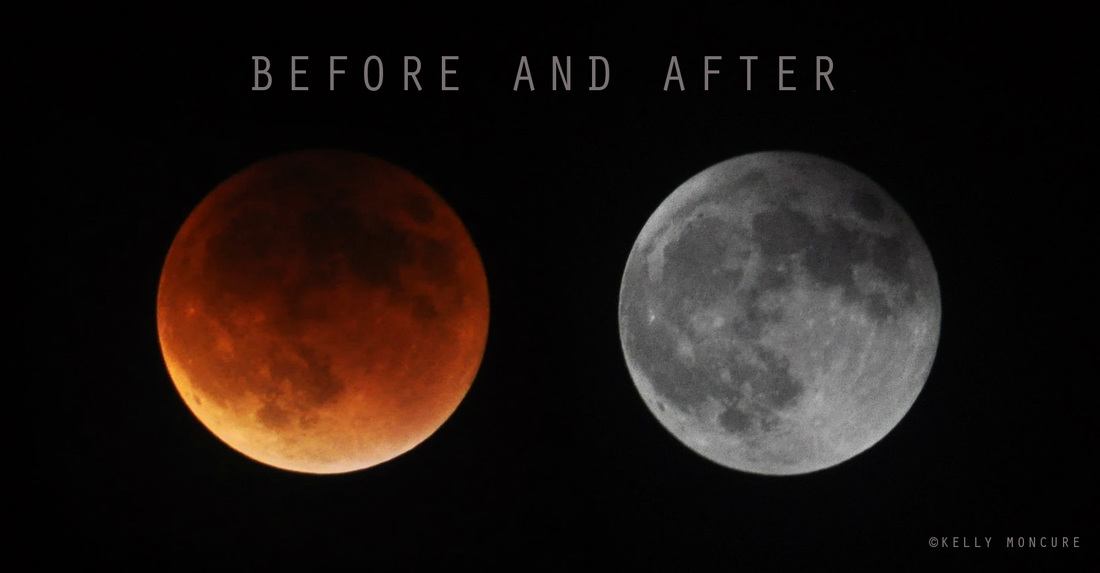 To photograph the moon:
1. Use a tripod! A flat surface will only allow you to shoot straight, and shooting the moon means that you'll be shooting up and constantly re-adjusting the tripod as the moon moves throughout the night. 2. Use a shutter release cord, remote or the camera's self timer if you don't have one, so that you don't move the camera when pressing the shutter release during a long exposure. 3. Use a zoom lens and zoom in as much as you can to the moon. It's okay if it's not a super fancy lens, this was shot using a 15 year old $100 lens. Focus in on the craters and details on the moon. 4. ISO 1250- 1600, so that you can use as fast a shutter speed as you can without losing detail-the longer the shutter speed, the more chances you have the camera will shake even slightly in the wind, resulting in an out of focus photograph. 5. Aperture priority of f/5.6 since you are not worried about capturing any details other then the moon. 6. Bracket your exposure, meaning over expose and underexpose the photograph from what the camera is telling you. Generally the camera will overexpose the moon, so you'll get nothing but a white blob in the sky. Use the exposure compensation button (the +/- button below the shutter release) and change the exposure to -0.5, then -1.0, then -1.5 and so on, until you start seeing detail in the moon. You may go as far as -5.0 exposure compensation to get what you need. 7. Take a fair amount of photos and keep refocusing as the night progresses. The photographs may look focused on the camera's display, but you won't really see if they're completely in focus until you upload them onto your computer screen. |
AuthorJust a young girl capturing all of her memories through the beauty of a camera. Archives
May 2017
Categories |
 RSS Feed
